
Here it is! Nest Candy's very FIRST guest post! Caitlin has prepared a great tutorial for you today, so let's get started!
Hi There! I am so excited to be here at Nest Candy today! I was thrilled when Kara contacted me a few weeks ago about doing a blog swap/feature. Every time I read her blog I think to myself, "Wow, we have a lot in common!".
Hi There! I am so excited to be here at Nest Candy today! I was thrilled when Kara contacted me a few weeks ago about doing a blog swap/feature. Every time I read her blog I think to myself, "Wow, we have a lot in common!".
Today I will be showing you how to make a sign to display children's masterpieces, doodles, A+ assignments, etc.
But first, A little bit about me. I'm Caitlin from Caits Creates-- full time grad student, part-time nanny and part-time human resources assistant. I live a pretty busy life but decided to start my own crafting blog this year to help keep me sane! So far it's working :) I take pride in being thrifty and love to share all of my inexpensive fixes with my readers.

So enough about me and on to the main event...
CHILDREN'S DISPLAY BOARD TUTORIAL

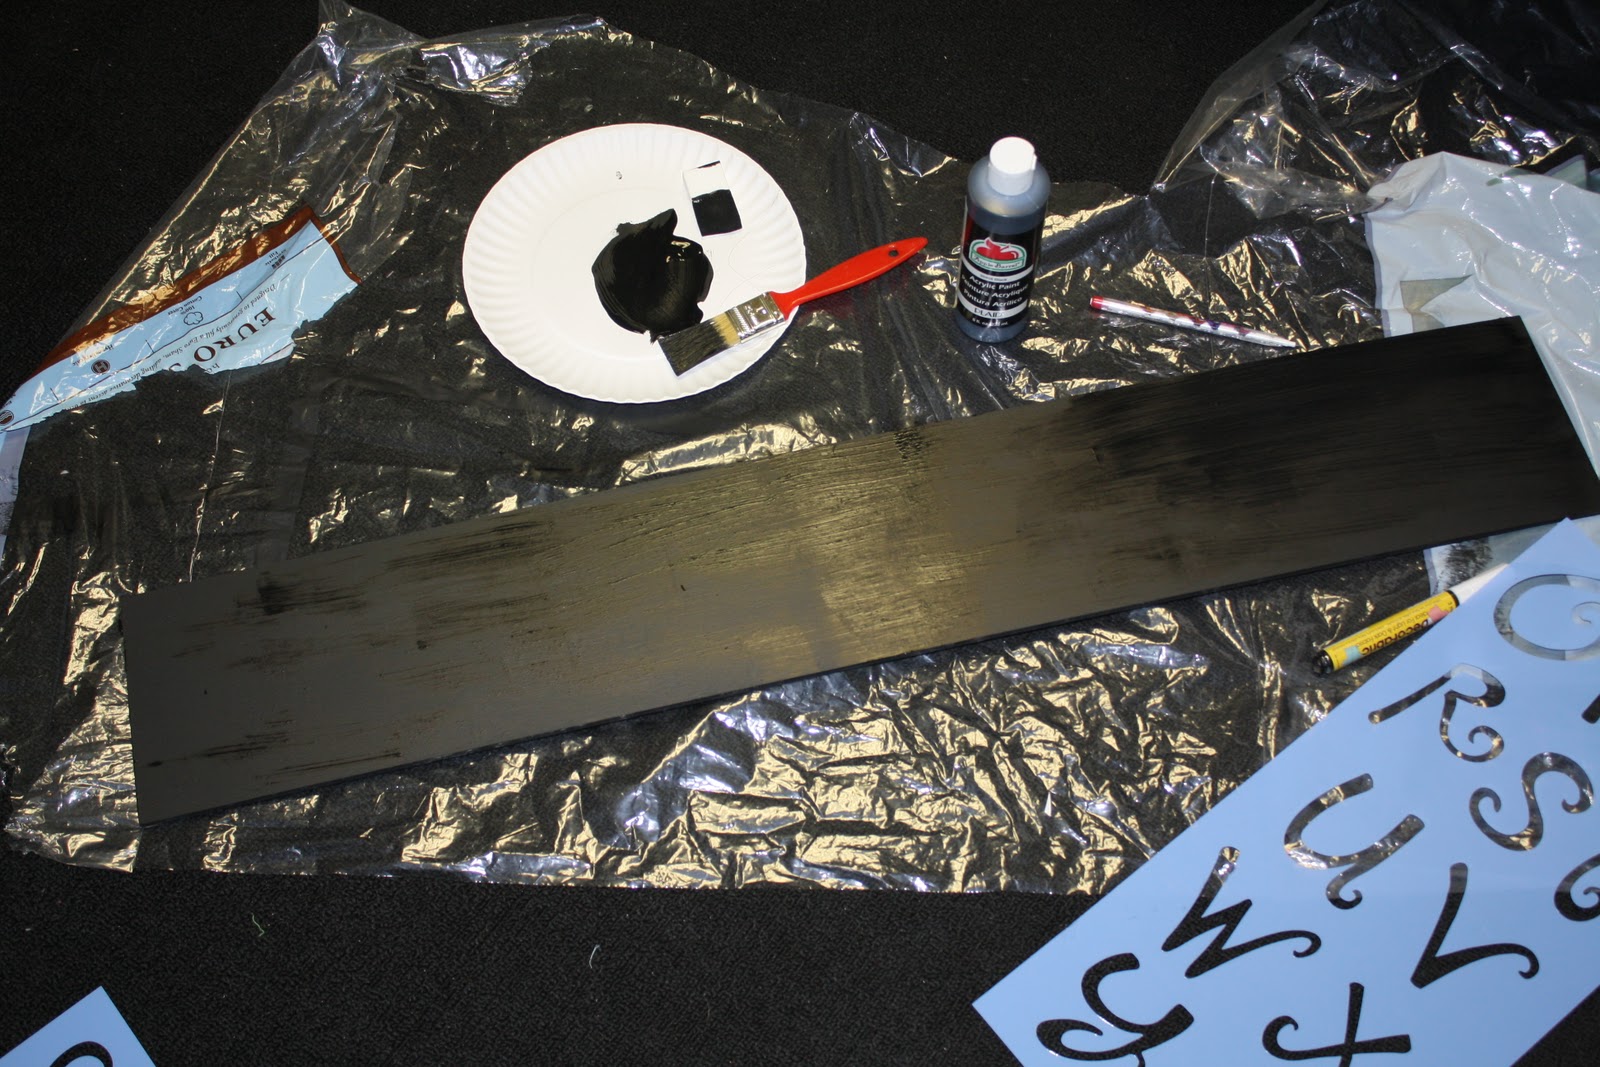
First, I gathered my supplies


Stencils and 36 inch board from Hobby Lobby

Gorilla Glue and White Fabric Paint Pen.
Once I had all my supplies I painted the board completely black (4 coats)
After the paint dried I stenciled the letters "Hailey's Drawings" onto the board
(this took me a few times to get it how I wanted it)

After stenciling I filled in the letters with the white paint pen. I found this was MUCH easier than the paintbrush and white paint I first tried to use!

I repeated this step about 4 times until the white was vibrant against the black

I added some clips (to hold the artwork) to the board with Gorilla Glue. I used a little too much which you can see where it is kind of overflowing...

So I decided to add some ribbon bows to the clips to cover the leaked glue

I also added hinges to the back of the board to allow for hanging. So in a little less than 3 hours (including the time it took the paint to dry) we now have a new and fun way to display Hailey's Masterpieces!

Estimated Total Costs:
Board.........$5.50
Paint Pen.....$2.00
Ribbon.......$0.50
Clips..........$1.50
Glue...........FREE (had on hand)
Stencils......$4.00 (but will use again)
TOTAL: $13.50
Thanks again to Kara for letting me blog at Nest Candy today!
WOW! Thanks Caitlin! That was such a great idea! I want to make one for myself. You really could make it as cute as you wanted for kids or as stylized as you needed for adults. I think this would even be a great solution for hanging reminders, like bills, in view so you don't forget about them.
Thanks again Caitlin for being the very FIRST guest blogger on Nest Candy. Don't forget to check out CaitsCreats for more fantastic ideas!


No comments:
Post a Comment